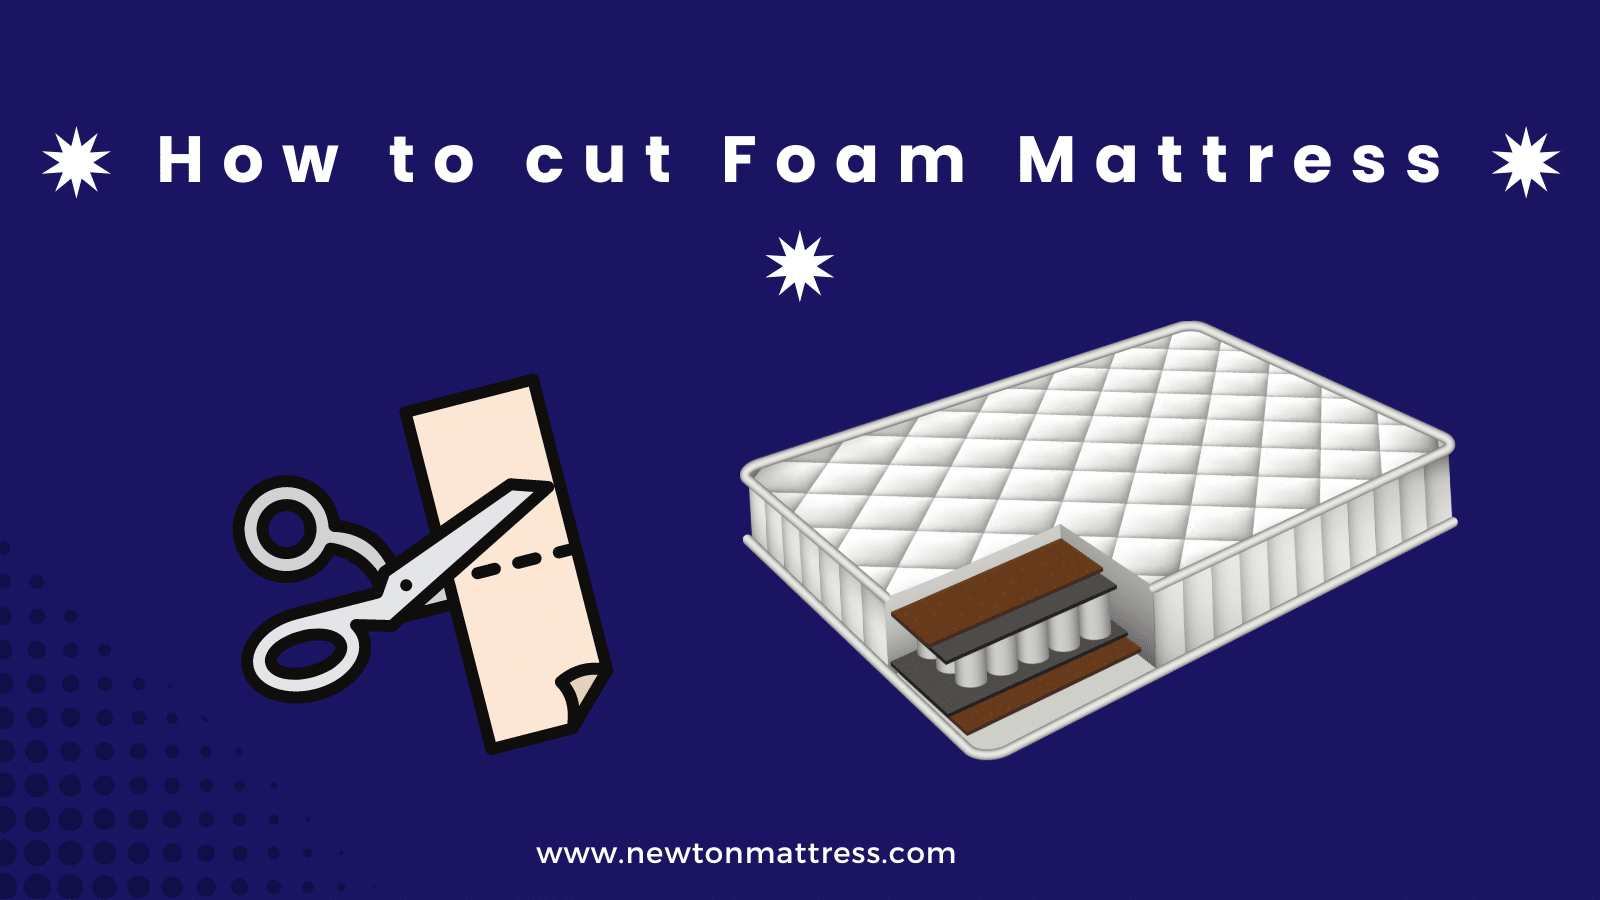
How to cut foam mattress? Cutting a foam mattress might seem challenging, but it’s quite doable with the right tools. Whether you’re resizing your mattress to fit a smaller bed frame or crafting a custom project, knowing how to cut foam properly is essential. This process doesn’t require professional skills. However, patience and attention to detail can turn a bulky mattress into a perfectly sized comfort piece.
First, gather a sharp utility knife, a straightedge, and a marker. Mark your cutting lines clearly on the foam. For the best results, make a shallow first pass with the knife, followed by deeper cuts. Take your time, and ensure your cuts are straight. Using a straightedge as a guide helps maintain precision, resulting in a clean, straight cut.
Cutting your foam mattress doesn’t have to be daunting. With the correct preparation and tools, anyone can achieve professional-looking results. This guide aims to provide simple, step-by-step instructions to ensure your DIY project is successful. Keep reading to discover more tips and tricks that will make cutting your foam mattress as easy as slicing through butter.
Importance of having the right tools
Having the right tools is crucial when it comes to cutting your foam mattress. A sharp, high-quality utility knife and a straightedge are essential for achieving clean, precise cuts. Using a dull or low-quality knife can cause uneven cuts, making the process more challenging and time-consuming.
A straightedge is also an important tool to have on hand. It helps guide your knife, ensuring your cuts are straight and even. You can use a ruler or a carpenter’s square as a straightedge, but investing in a specialized foam cutting tool is worth considering for more intricate projects.
In addition to the basic tools mentioned above, having a marker on hand is also helpful. Marking your cutting lines before making any cuts will help you stay on track and avoid any mistakes. You can use a regular marker, but a fabric pen or chalk is recommended for marking on foam.
Benefits of DIY mattress resizing or custom projects
Resizing a mattress or engaging in custom foam projects has several significant benefits that not only satisfy your spatial needs but also bring out the creative side in you. Here’s a stepwise look at the benefits:
- Cost Efficiency: By adjusting the size of an existing mattress or using foam for custom projects at home, you can save a significant amount of money. Purchasing new furniture or custom-fit pieces can be expensive, so DIY allows for personalization while keeping costs low.
- Customization: When you take on the task yourself, you have complete control over the dimensions and shape of your foam. This means you can achieve a perfect fit for any unusual space, a unique piece of furniture, or a specific comfort need. Customization ensures that every detail meets your specifications.
- Repurposing: DIY resizing or custom projects give old mattresses or foam pieces a new life. Instead of contributing to waste by throwing out an old mattress, you can repurpose it for other uses around the house, such as pet beds, seating for a DIY sofa, or even outdoor furniture cushions.
- Satisfaction and Skill Building: Completing a DIY project successfully is incredibly satisfying. Not only do you end with a product that perfectly fits your needs, but you also gain valuable skills and confidence in handling different tools and materials. Each project builds your proficiency and prepares you for more complex tasks.
- Eco-Friendly: Custom resizing and repurposing projects are an eco-friendly option. By reducing waste and the demand for new products, you contribute to sustainability. DIY projects often utilize materials more efficiently and encourage a mindset of conservation and resourcefulness.
By taking DIY mattress resizing or custom foam projects into your own hands, you’re not just creating something unique; you’re also making an economical, environmentally friendly, and personally fulfilling choice.
Materials Needed
Before you begin cutting your foam mattress, ensure you have all the necessary materials gathered. These tools will help you achieve precise and clean cuts, making the job smoother and more efficient. Here’s what you’ll need:
- Sharp utility knife: The key to making clean cuts is using a sharp blade. Ensure your utility knife is in good condition and consider having extra blades on hand to swap out if needed.
- Straightedge (ruler or long level): A straightedge will guide your cuts, helping keep them straight and precise. A long ruler or a carpenter’s level can serve well for this purpose.
- Marker: To mark the cutting lines on your foam. Choose a marker that is visible on foam. A regular marker will do, but for better visibility, consider a fabric pen or chalk.
Preparation Steps
Before making the first cut, it’s crucial to prepare your workspace and foam mattress adequately. Start by laying the mattress flat on a clean, spacious surface – ideally on the floor or a large work table. Ensure the area is free from obstacles and provides ample room for you to move around and make precise cuts.
Next, measure the space or item the foam is being resized for. Double-check these measurements to avoid any errors. Remember, it’s always better to measure twice and cut once.
Measuring and Marking the Foam Mattress
Measure the dimensions carefully, using a tape measure for accuracy. Transfer these measurements onto your foam mattress, marking the cutting lines clearly with a marker. Be as precise as possible, and use a straightedge or long level to ensure your lines are straight.
If you’re cutting to fit a specific space or cover, consider marking a slightly larger size to account for potential trimming or adjustments.
Importance of Precision in Marking
Precision in marking your cutting lines on the foam mattress cannot be overstated. Accurate measurements and clear, straight lines are the foundation of a successful cut. Inaccurate markings can lead to cuts that are too short, long, or uneven, potentially ruining the foam or necessitating additional adjustments. Taking the time to ensure precision at this stage can save you time and materials in the long run.
Cutting Process
Once you have your workspace prepared, materials gathered, and foam mattress marked, it’s time to start the cutting process. Following these steps will help you achieve clean, precise cuts:
- Shallow First Pass: Begin by making a shallow cut along your marked line. This initial pass shouldn’t cut all the way through the foam. The purpose of this first pass is to create a clear path for subsequent cuts. It acts as a guide that ensures your deeper cuts are accurate and straight.
- Using a Straightedge: Place your straightedge along the line you’ve marked. It should be firmly held or weighted down to prevent any movement. As you make your shallow pass and subsequent cuts, keep the utility knife snug against the edge of the straightedge. This will help maintain precision and prevent deviations.
- Subsequent Deeper Cuts: After the initial shallow pass, make several more passes with the knife, each time cutting slightly deeper into the foam. By progressively deepening the cut, you ensure control over the blade and reduce the risk of making a mistake. Depending on the thickness of the foam, it may take several passes to cut through completely.
- Tips for Precision:
- Always work slowly and with focus. Rapid movements can lead to slips and inaccurate cuts.
- Replace the blade as soon as you feel any resistance or notice any tearing of the foam. A sharp blade is crucial for clean cuts.
- Keep your hands steady and apply even pressure during each pass. Uneven pressure can lead to irregular cuts.
- Finishing the Cut: Once you’ve cut through the foam, remove the excess pieces and inspect the edge. If any irregularities or rough spots are present, you can trim these using the same technique of shallow passes for precision.
By following these steps and focusing on precision, you’ll achieve a clean and accurate cut in your foam mattress, facilitating a successful DIY project.
Tips and Tricks for Clean, Straight Cuts
To guarantee the best results in your DIY foam mattress project, here are additional tips and tricks:
- Measurements and Guidelines: Use a fabric tape measure for curved or complex shapes, ensuring the flexibility of the tape matches the contours closely. When dealing with straight lines, a laser level can project a perfectly straight guideline onto your foam, serving as an excellent reference for longer cuts.
- Cutting Techniques: For thicker foam layers, consider using a serrated bread knife or an electric carving knife. The sawing motion allows for smoother cuts through dense material. Always saw gently to prevent tearing the foam.
- Prevention of Foam Shifting: Securing the foam can prevent it from moving or compressing as you cut. Lightly adhesive painter’s tape can be used along your cut line to minimize foam movement and prevent edge fraying.
Handling the Mattress During Cutting
Handling the mattress properly is crucial for safety and precision:
- Positioning: If possible, elevate the mattress to a comfortable working height using sawhorses or a sturdy table. This prevents you from bending over excessively, which can cause fatigue and imprecision.
- Supporting the Foam: Ensure the part of the mattress you are cutting is well-supported but allows the piece you are removing to fall away or be easily removed without pulling on the rest of the mattress. This may require an assistant to help hold the foam or adjusting the mattress position as you cut.
Safety Precautions
When cutting a foam mattress, prioritize safety to avoid accidents:
- Protective Gear: Always wear protective eyewear to guard against flying particles. Consider wearing a dust mask if you are sensitive to foam particles or working in a poorly ventilated area.
- Blade Safety: Use tools with lockable blades to prevent the blade from retracting. When using knives, cut away from your body, and keep your free hand away from the cutting line.
- Workspace Cleanliness: Keep your workspace clean and free of clutter. A tidy space not only reduces the risk of accidents but also makes it easier to focus on precision cutting.
By following these additional tips, tricks, and safety measures, you will enhance the quality of your cuts, handle the foam mattress safely during the cutting process, and ensure a successful DIY project with professional-looking results.
Final Thoughts How to cut foam mattress
Cutting a foam mattress may seem daunting at first, but with meticulous preparation, the right tools, and a steady hand, it can transform into an enjoyable and fulfilling DIY project. Whether you’re customizing the size of your mattress to fit a unique space, repurposing old foam for new uses, or simply bringing a personal touch to your home’s comfort levels, the skills you develop through this process can be invaluable.
Remember, patience and attention to detail are your greatest allies. With each cut, you’re not just altering foam; you’re crafting comfort and functionality tailored to your specific needs. In the end, the satisfaction of having done the job yourself, with precision and care, makes all the effort worthwhile.


